

Having a hard time coming up with a cool gift idea? Wanting to create something fun and uniquely yours? Why not try your hand at glass-etching! It might sound a bit daunting, but as some Twitter users in Japan are finding, it’s a lot easier than expected, and a lot of fun to make your own anime (or anything!) goods. All you need are a few basic items, a steady hand, and some helpful tips to make your own awesome, customized etched glass! Follow us after the jump to get started.
All right, let’s get to it! First here’s what you’ll need:
-A glass cup
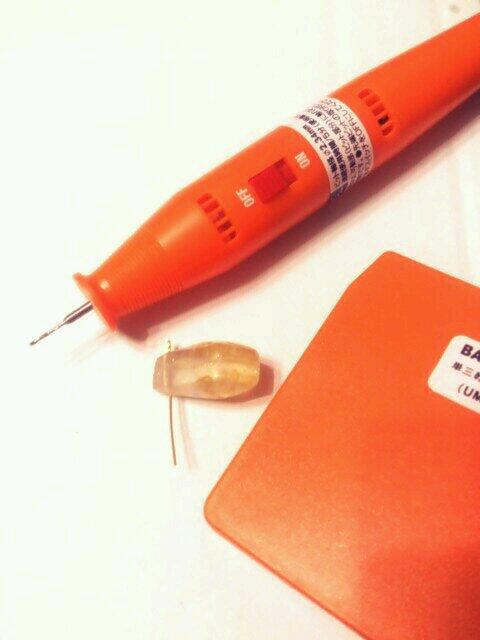
-Mini rotary tool with diamond-tipped bit
-Mask, goggles, and gloves
-Your creativity!
Since you’ll be etching glass, you’ll be creating glass dust and possibly glass splinters in the process, so as a precaution it’s a wise idea to use a mask, goggles, and gloves for protection while creating your handiwork. Glass splinters are NO FUN.
Now, for the image. If you’re a bit more artistically inclined, you can simply free-hand your preliminary sketch right onto the cup with marker. You can also print an image and tape it on the inside of your cup to trace over. Then goggles on, and start etching away with the rotary tool! (For those of you in Japan, Daiso sells very inexpensive mini rotary tools and replacement bits, called mini ruutaa, ミニルーター, in Japanese).
▼A simple mini rotary tool
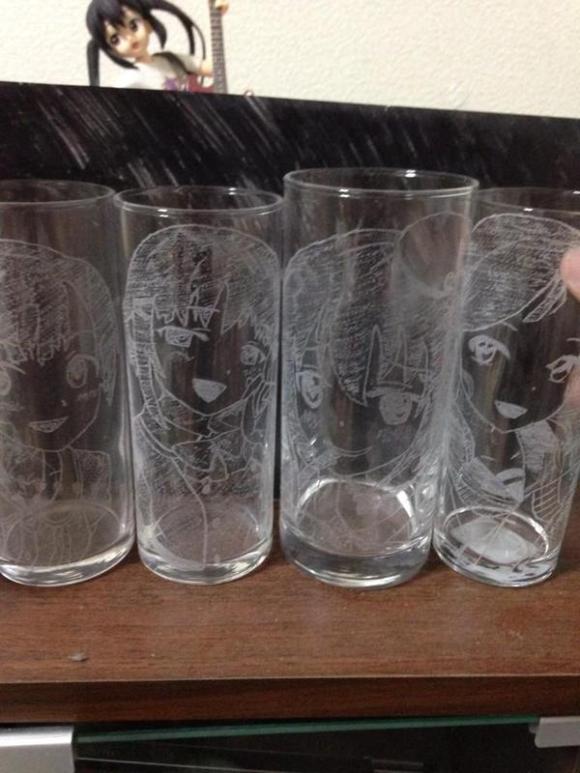
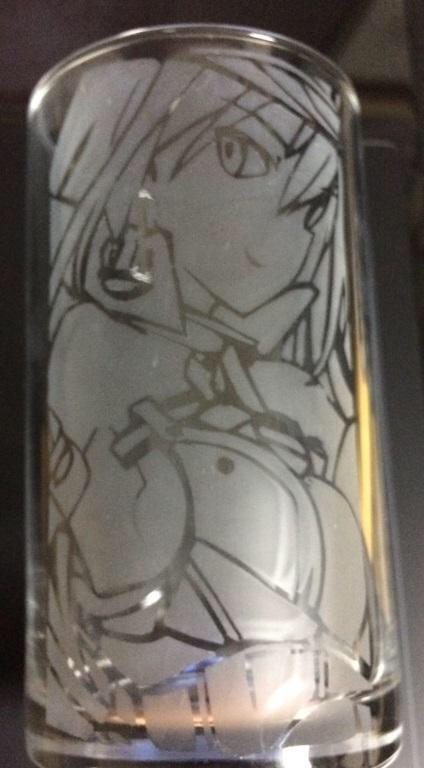
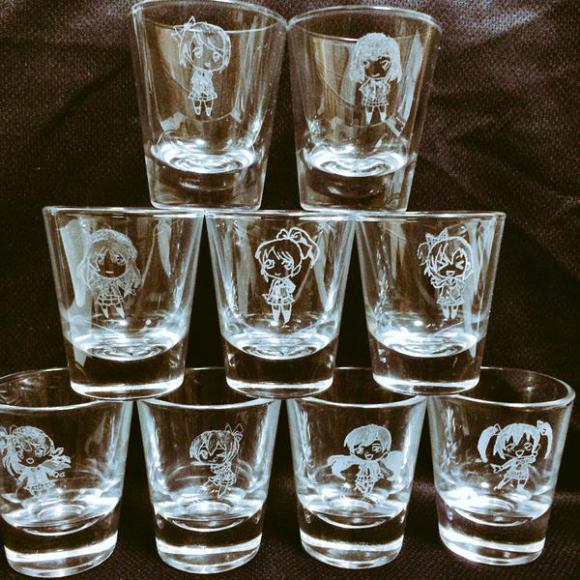
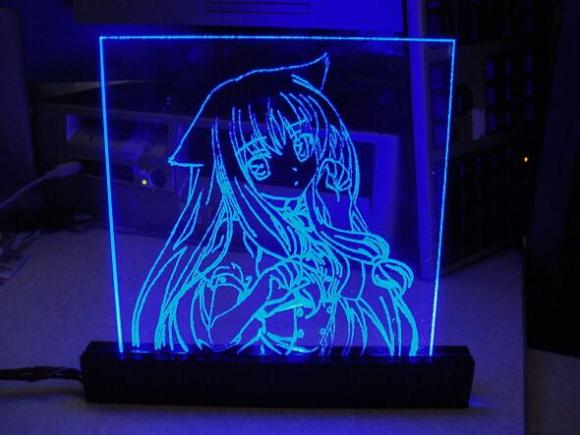
If you need some inspiration, check out these awesome anime designs done by creative Twitterers.

Some seasoned glass-etchers also share their tips to help things go more smoothly and get a better end-result:
“Hold the rotary tool as you would a pencil. Hold the bit lightly against the glass, and only apply pressure from the bit.”
“It will etch more smoothly if you move the rotary tool from right to left, instead of left to right. You can help stabilize the cup by placing something to the right of the cup so it doesn’t roll.” (This will probably be the opposite for you lefties!)
“Before making your preliminary sketch, wipe the glass with a cloth soaked with nail polish remover, then draw the design with magic marker. When you’re finished etching, wipe any remaining marker away with the nail polish remover.”
“Let the etched parts represent areas of light, and unetched parts represent areas of shadow on your picture. When etching, using a light will help you see the shading better.”
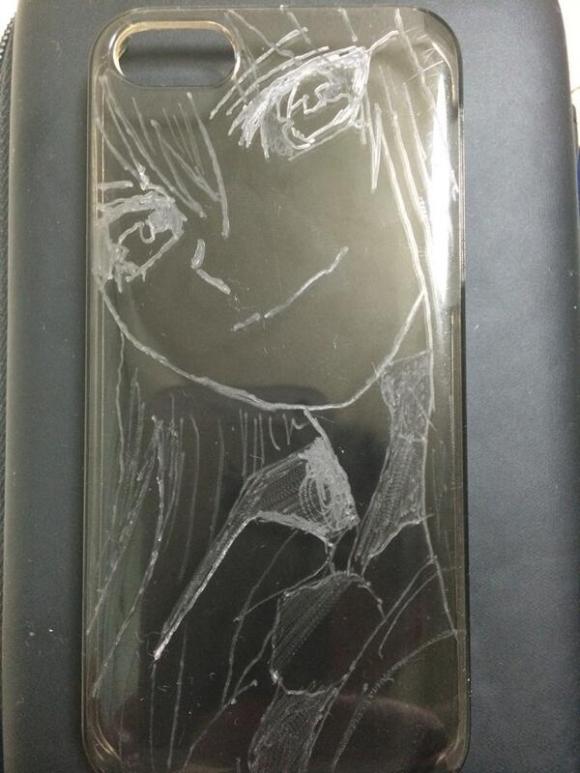
With the rotary tool, you’re not limited to only class cups. Here are a couple other cool ideas for etching projects.
▼Customized smartphone case!
Going to give glass etching a whirl? Let us know what you’re making and how it turns out!
Source: NAVER Matome
Featured image: Twitter @hr_joker_
 Japanese Twitter user gets Machamp clothes in lucky bag…but not in the way you think
 Celebrate summer in style with a cold drink in these color-changing firework glasses【Video】
 Turn a glass of beer into an exquisite Mt. Fuji scene with this Awakumo glass!
 Starbucks Japan’s new sakura drinkware collection captures “beauty and fragility” of the blooms
 Are 100-yen shop Daiso’s gel nail polish strips a good dupe for salon quality nails? Let’s find out
 All-you-can-drink Starbucks and amazing views part of Tokyo’s new 170 meter-high sky lounge
 McDonald’s new Happy Meals offer up cute and practical Sanrio lifestyle goods
 More foreign tourists than ever before in history visited Japan last month
 Beautiful Sailor Moon manhole cover coasters being given out for free by Tokyo tourist center
 Starbucks reopens at Shibuya Scramble Crossing with new look and design concept
 Deer in Nara Park mysteriously disappear during this year’s shikadamari season
 Is the new Shinkansen Train Desk ticket worth it?
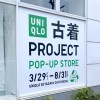 Uniqlo opens its first Furugi Project secondhand clothing pop-up shop in Tokyo
 Enjoy viewing Kyoto’s cherry blossoms from above on a guided zipline tour
 The oldest tunnel in Japan is believed to be haunted, and strange things happen when we go there
 Disney princesses get official manga makeovers for Manga Princess Cafe opening in Tokyo
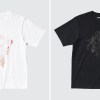 Beautiful new Final Fantasy T-shirt collection on the way from Uniqlo【Photos】
 Foreign English teachers in Japan pick their favorite Japanese-language phrases【Survey】
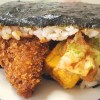 Japanese convenience store packs a whole bento into an onigiri rice ball
 We try out “Chan Ramen”, an underground type of ramen popular in the ramen community
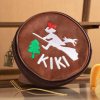 Studio Ghibli releases Kiki’s Delivery Service chocolate cake pouches in Japan
 Japan’s bone-breaking and record-breaking roller coaster is permanently shutting down
 New definition of “Japanese whiskey” goes into effect to prevent fakes from fooling overseas buyers
 Our Japanese reporter visits Costco in the U.S., finds super American and very Japanese things
 Studio Ghibli unveils Mother’s Day gift set that captures the love in My Neighbour Totoro
 Foreign passenger shoves conductor on one of the last full runs for Japan’s Thunderbird train
 Domino’s Japan now sells…pizza ears?
 New Japanese KitKat flavour stars Sanrio characters, including Hello Kitty
 Kyoto creates new for-tourist buses to address overtourism with higher prices, faster rides
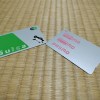 Sales of Japan’s most convenient train ticket/shopping payment cards suspended indefinitely
 Sold-out Studio Ghibli desktop humidifiers are back so Totoro can help you through the dry season
 Japanese government to make first change to romanization spelling rules since the 1950s
 Ghibli founders Toshio Suzuki and Hayao Miyazaki contribute to Japanese whisky Totoro label design
 Doraemon found buried at sea as scene from 1993 anime becomes real life【Photos】
 Tokyo’s most famous Starbucks is closed
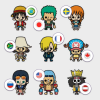 One Piece characters’ nationalities revealed, but fans have mixed opinions
 We asked a Uniqlo employee what four things we should buy and their suggestions didn’t disappoint
 Princesses, fruits, and blacksmiths: Study reveals the 30 most unusual family names in Japan
 This cat ear motorcycle helmet makes for a purr-fect biker accessory
 New glassware from Japan uses condensation to create sakura cherry blossom imprints on your table
 Beautiful “sandy beach” near Nagasaki Airport is not made of sand…it’s made of glass!
 You’ll need a healthy dose of imagination for these Japanese window food samples
 Anime-style magic circle cordless charging pad is the coolest way ever to charge a phone【Video】
 Perfect Mother’s Day gift: My Neighbor Totoro-inspired “corn gift set”
 Twitter user in Japan makes amazing, tiny nail art with nail clippers and a utility knife【Pics】
 Make your “miracle romance” come true with this anime-inspired Sailor Moon ring
 Dirt cheap all-you-can-drink sake sampler in Tokyo saves us money plus a trip to Akita
 Happy ending for Japanese man whose sports car was stolen right before his eyes
 This amazing suit of samurai armor is made of five-yen coins, and you can make your own too【Pics】
 We got our hands on the new and rare 1/12th scale model of a Japanese post box
 How to make the best dalgona cookies from Squid Game
Leave a Reply